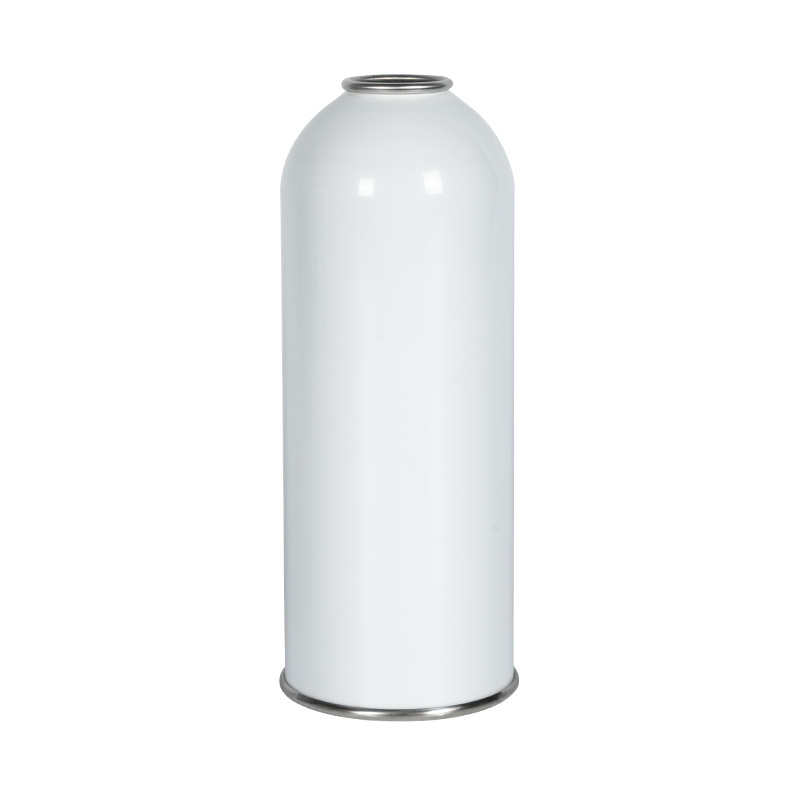
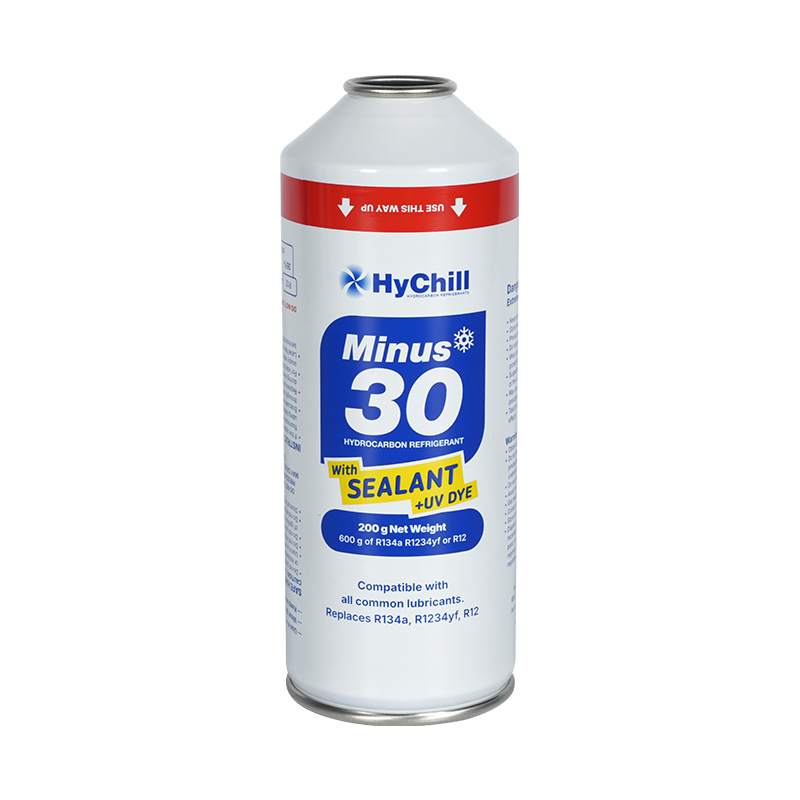
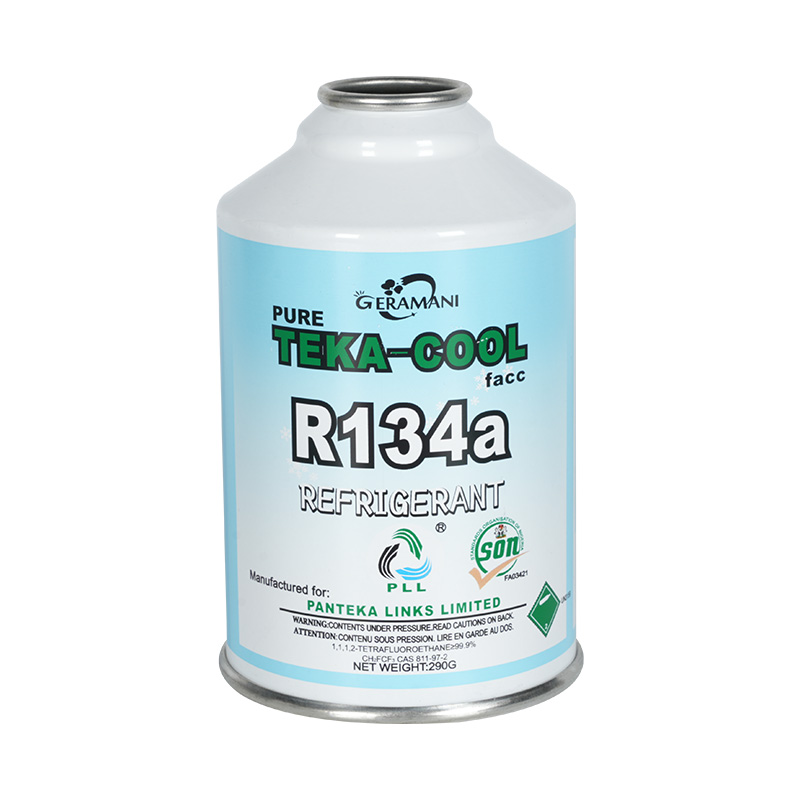
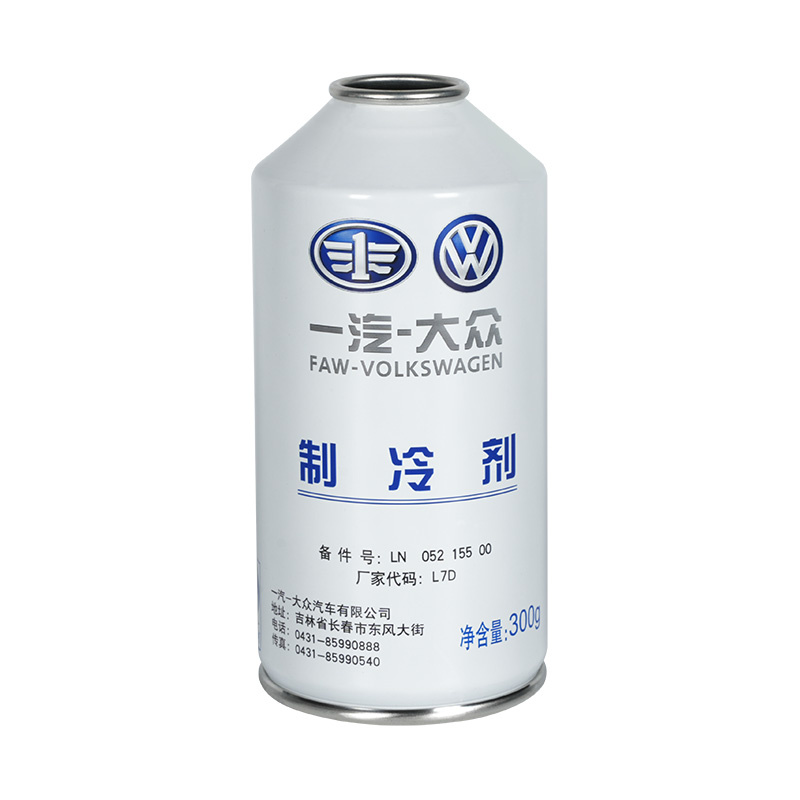
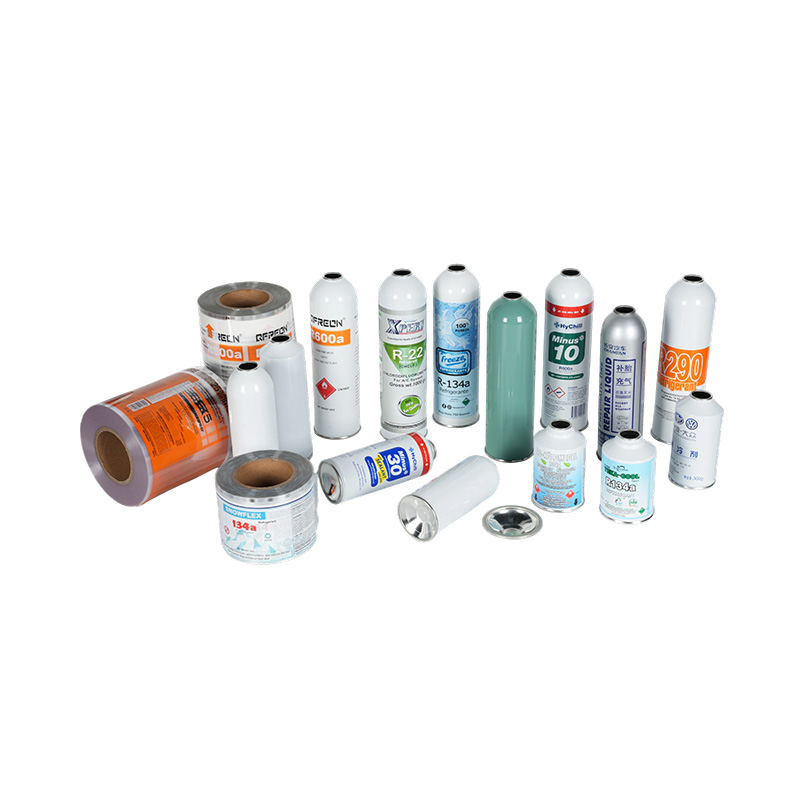
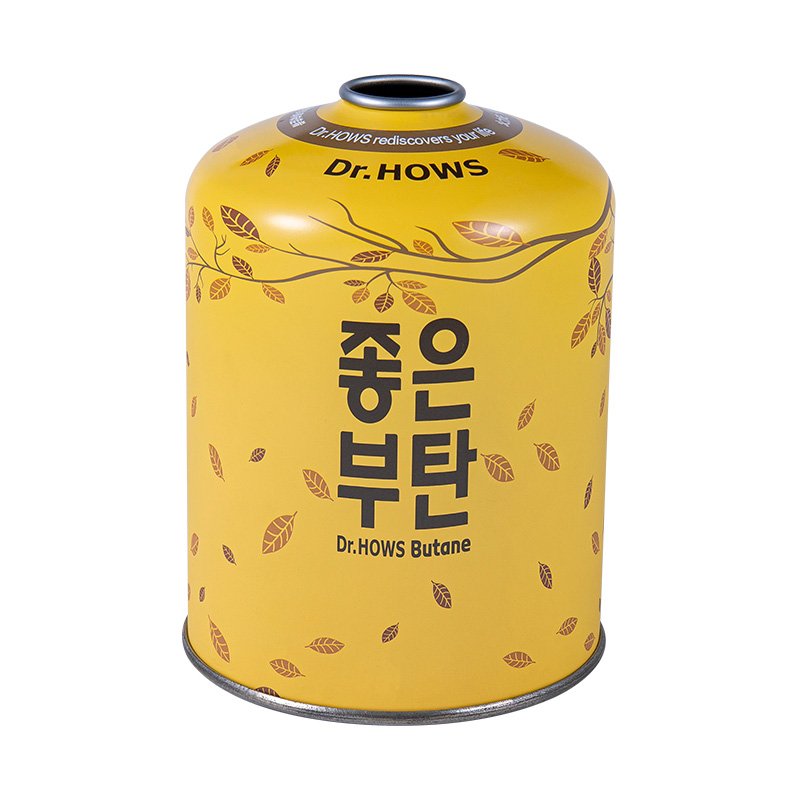
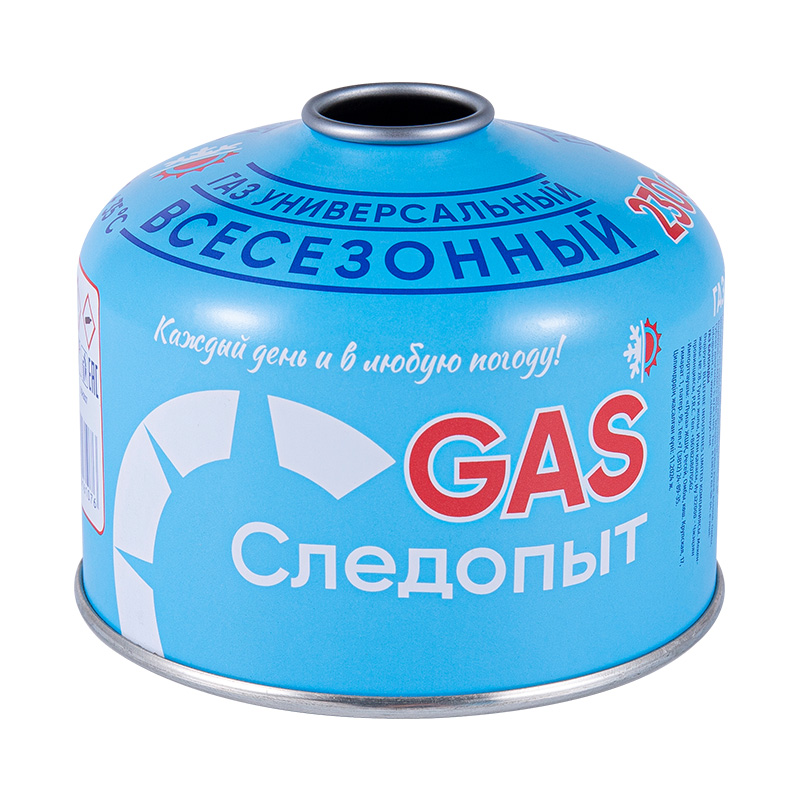
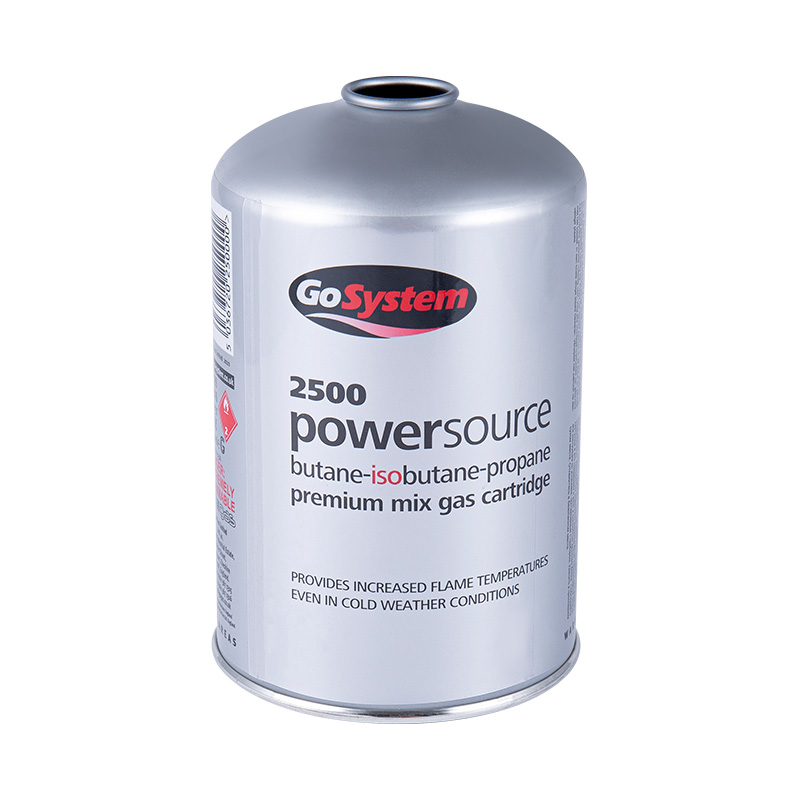
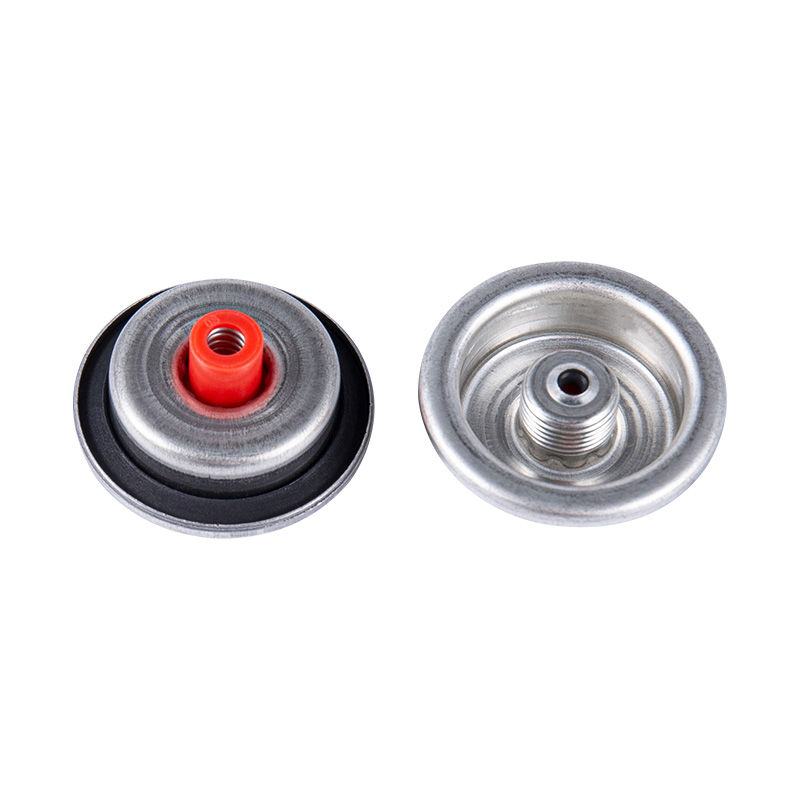
Seaming is where the Aerosol Can body, top, and bottom get locked together into a sealed, pressure-ready container. Older seaming equipment often needed manual retooling every time a run switched can sizes, which meant real downtime between batches. That's changed with servo-driven seaming heads, which let operators adjust seam width and tightness through digital controls instead of swapping out mechanical parts.
Some lines now run several seaming heads side by side, pushing more units through per hour without expanding the footprint of the plant. Built-in sensors also track seam thickness as cans move through, catching an uneven roll before it ever reaches the packaging stage. For buyers placing large orders, this usually means shorter lead times and fewer rejected units from bad seams — and a tighter seam lowers the odds of leakage once cans are loaded onto a truck or container under pressure.
Seam failures on an Aerosol Can usually trace back to a small number of manufacturing variables, and buyers sourcing at volume benefit from knowing what to check before placing an order.
The seam is where the can body meets its top or base, joined by welding or double seaming depending on the can's construction. Problems start when pressure during forming isn't consistent, when the metal thickness varies slightly between sheets, or when the seaming rolls aren't adjusted correctly for a given can diameter. Any of these can leave a gap too small to see but large enough to let gas escape slowly over time.
Material condition plays a role too. Metal that's slightly out of spec on hardness or thickness behaves differently under the seaming process, even if it looks fine going in. This is one reason batch-to-batch consistency matters as much as the initial design.
| Factor | Effect on Seam |
| Uneven seaming pressure | Incomplete fold or fusion |
| Metal thickness variation | Weak or thin seam wall |
| Roll misalignment | Gaps or uneven overlap |
| Inconsistent material hardness | Cracking under pressure |
Before a can becomes a can, it's just a flat disc of metal. Deep drawing pulls and reshapes that disc into a hollow cylinder using a punch and die, usually across two or three stages depending on how tall or wide the final can needs to be.
A few things about this stage matter directly to procurement:
Buyers sourcing cans for pressurized fills — insecticides, personal care aerosols, automotive sprays — often ask suppliers how many drawing stages they run and how often tooling gets checked, since both affect burst resistance and how tightly dimensions hold across a large order.
Aluminum and tinplate are still the two go-to materials for aerosol can bodies, and they're made in fairly different ways. Aluminum cans generally come from impact extrusion — a slug of aluminum gets struck by a punch and forced up into a die, forming a seamless one-piece body in a single motion. That works well for smaller, lighter cans and gives a smooth surface that takes printed branding cleanly.
Tinplate cans are built differently. They start as three separate pieces — body, top, bottom — joined through the seaming process covered above. The body itself comes from rolling a flat tinplate sheet into a cylinder and welding the side seam shut.
A few manufacturing differences worth knowing before choosing between them:
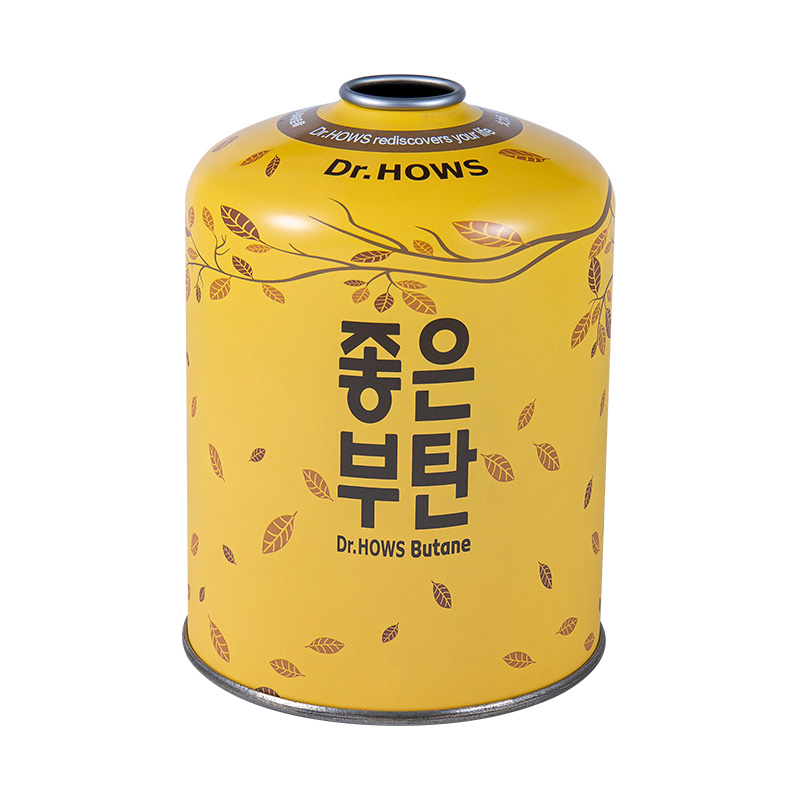
Looking for an Aerosol Can that actually fits real outdoor use? Bluefire's 450g Gas Cartridge is a solid option to check out. At 106mm across and 145mm tall, it holds 990ml with a 450g net fill — big enough to last a trip, small enough not to weigh down a pack.
Compatibility is where it really earns points. Built to the EN417 standard with a 7/16"-28 threaded valve, it connects to most mainstream camping stoves instead of tying buyers to one specific brand. It's also DOT certified, and every batch goes through air-tightness and drop testing before it ships — a detail worth noting given how much pressurized cans depend on getting that right.
For brands thinking about private label, Bluefire supports OEM printing with clean, consistent finishing, so the can can actually carry a company's own branding instead of looking generic on the shelf.


+86-18238070562

+86-579-85791578


No.28, Tongyi Road, Yiting town, Yiwu 322000 - Zhejiang Province, P.R.C.
Copyright © Bluefire Industries Limited All Rights Reserved. Two-Piece Aerosol Can


 English
 عربى
عربى Español